Find your level
The calculator assesses each face of your home and generates a report with your WER and CNEL levels. Your report includes download links to the right design guide.
30 minutes, daylight, and a way to measure distances (pacing works). Walk each face of your home. The calculator asks about vegetation type, distance, slope, and close neighbours. At the end you get a professional report with your levels and the right design guide.
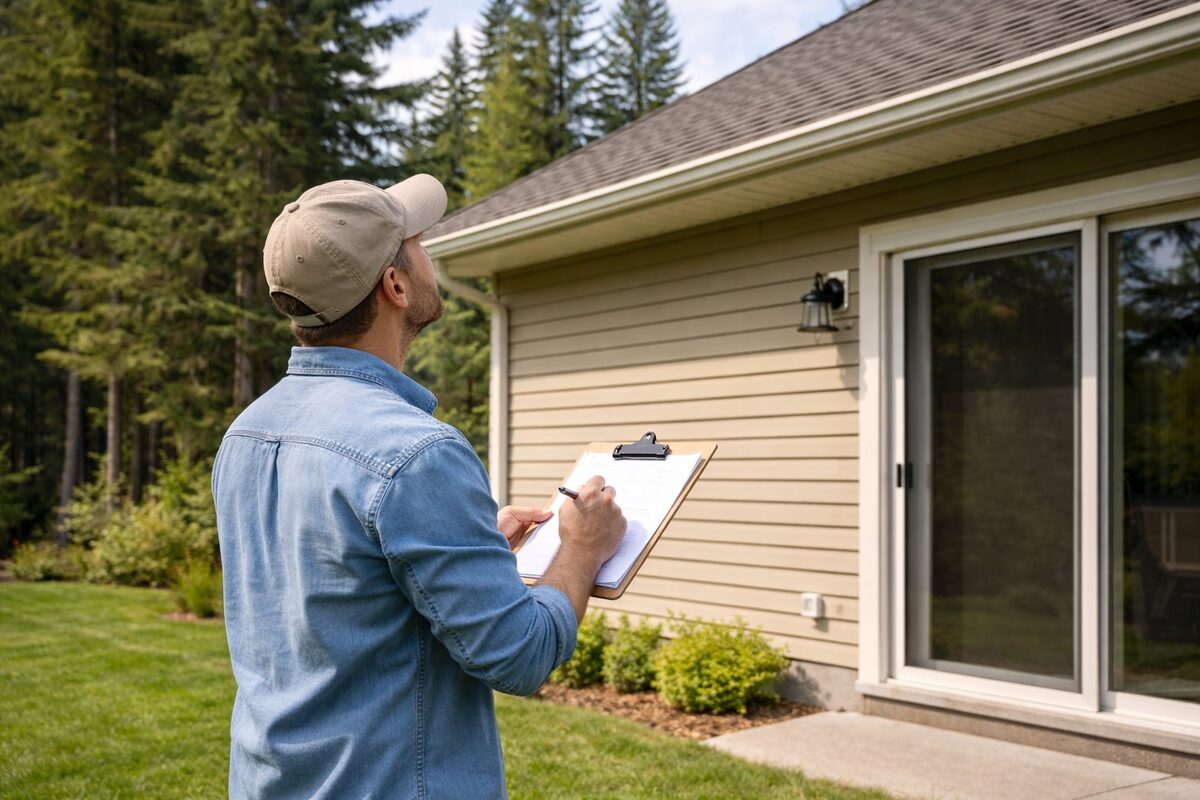
Walk each face of your home. Note the vegetation, distance, and slope. The calculator does the rest.
Prefer paper? Download the printable self-assessment guide
Download the design guide for your level
Your calculator report includes a link to the right guide. Or download directly below. Each guide has specific materials, assemblies, priorities, and estimated costs.
Supporting documents
Specialised guides for specific audiences. All free, all downloadable from the document library.
How municipalities can reference and adopt FireHard in DPAs.
First Nations CommunitiesWildfire hardening guidance for Indigenous communities.
Assembly ReferenceDetailed construction assemblies for each element at each level.
Technical Document v1.2Complete methodology, lookup tables, and system documentation.
Photograph all hardening work with dated images. Keep receipts. This is your evidence for insurance, resale, and future code compliance. Future Canadian regulation may require documentation of completed hardening work.
Want to help improve this?
We need engineers, builders, municipalities, and homeowners to test the system and tell us what works.
Get Involved →